Let’s kick things off by talking about what “NJAV GVG Shotacon” is all about and how it relates to the Jagdpanzer IV. When I see “NJAV GVG Shotacon” mentioned among War Thunder enthusiasts, it usually ties back to guides, forums and special strategies that focus on creative or lesser-known tactics. It sounds fancy, but think of it like a community reference point for those trying to get an edge in the game. The most important thing about it is the collective wisdom shared among players who want to make the most of certain vehicles.
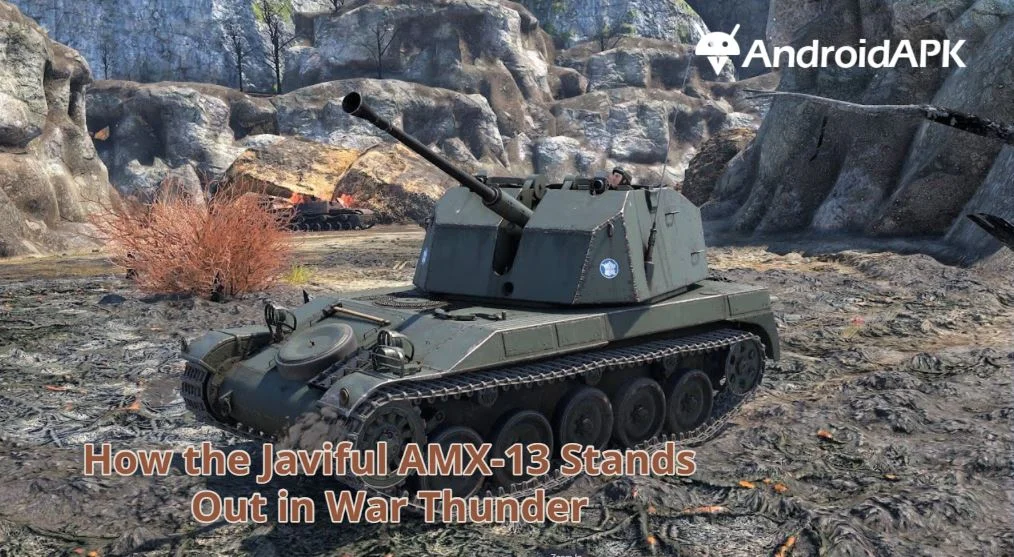
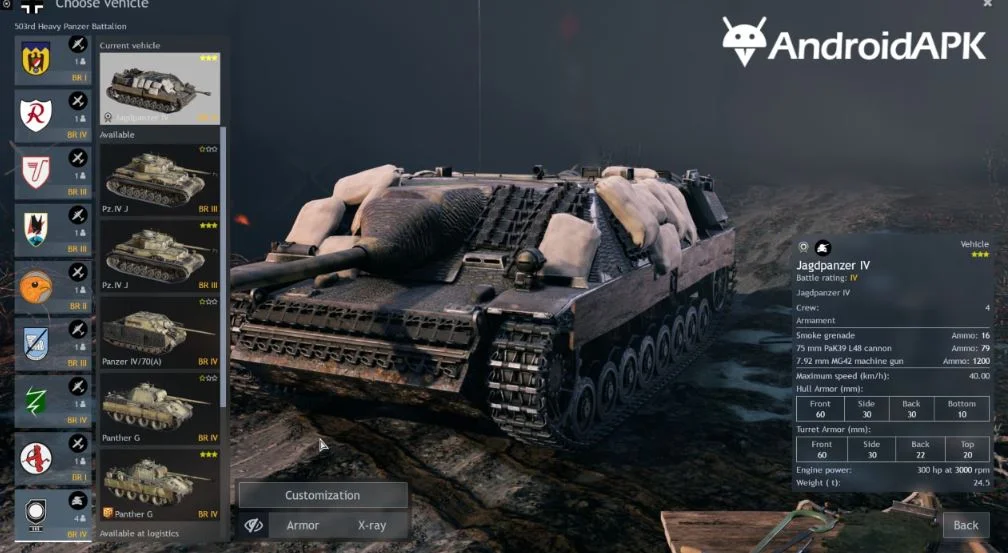
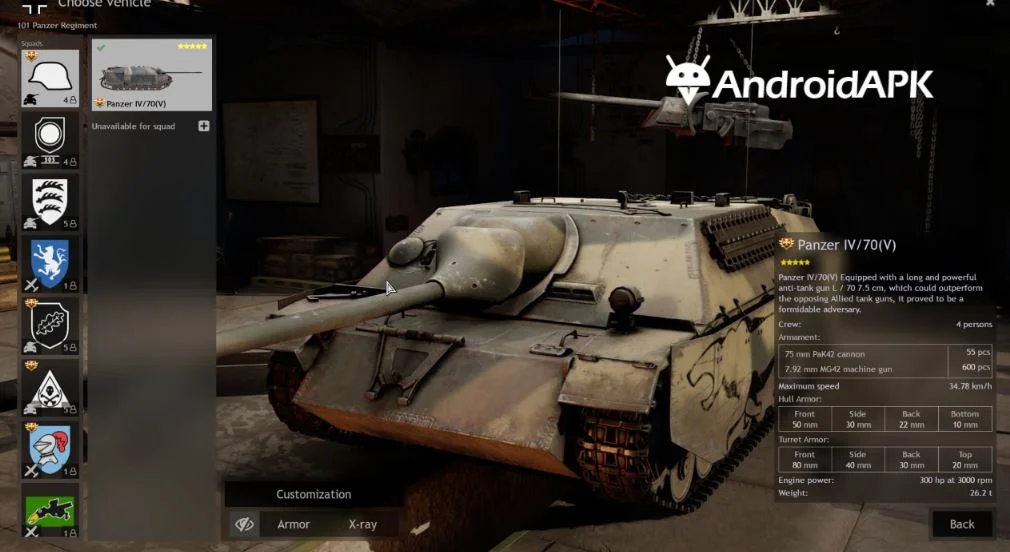
Now, looking at the Jagdpanzer IV, you can see why it has earned the nickname “the best ambush tank” from many players. Historically, the real Jagdpanzer IV was a German tank destroyer introduced during World War II. It was designed to be lower in profile than many other tanks, allowing it to remain hidden and strike when the enemy least expected it. In War Thunder, it carries that same sneaky vibe. With it’s solid frontal armor and decent firepower, the Jagdpanzer IV can hold it’s own in a fight, but it’s true strength shines in an ambush scenario. That’s where “NJAV GVG Shotacon” discussions often come in handy, offering tips on how to position the Jagdpanzer IV so you’re not just taking potshots at random.
The Ambush Strategy in War Thunder

Ambush tactics revolve around two main pillars: positioning and patience. You want to stay hidden and wait for the perfect moment to strike, rather than jumping in guns blazing. This strategy capitalizes on the element of surprise, which is one of the greatest advantages you can have in War Thunder. In essence, you are setting traps, using the environment as your ally and then picking off enemy tanks before they even realize what’s happening.
Why “NJAV GVG Shotacon” is Trending Among Tanks?
In War Thunder forums and online communities, “NJAV GVG Shotacon” keeps popping up, almost as if it’s some secret handshake between dedicated players. In reality, it’s just a phrase that underscores how some tank destroyers, particularly the Jagdpanzer IV, are being used to set ambushes with near-scientific precision. This phrase is symbolic of a new wave of content creators and strategists who share their best tips. Think of it as an inside joke or code that indicates you’re about to learn some next-level tactics.
Historical Background of the Jagdpanzer IV
The Jagdpanzer IV is no newcomer to the tank destroyer scene. It’s steeped in history, having emerged during World War II as a specialized machine meant to deal with enemy armor effectively.
- Design and Development
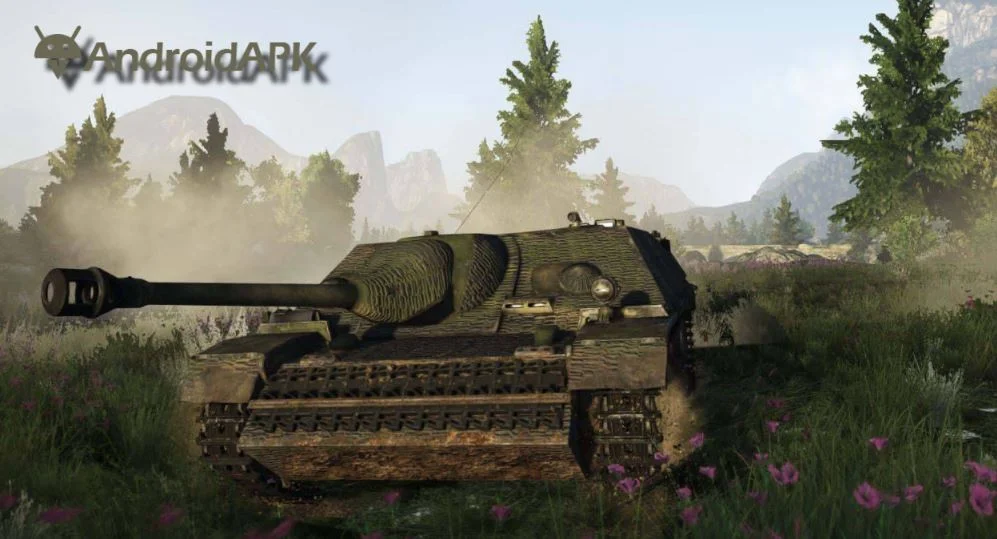
The “Jagdpanzer” label directly translates to “hunting tank,” which tells you everything you need to know about it’s role. In simpler terms, it was designed to be an armor hunter. Unlike standard tanks with a turret, the Jagdpanzer IV features a low profile and a fixed gun. This makes it excellent for hiding behind bushes or rubble, a real asset when you’re trying to stay undetected.
- Real-World Combat Influence on War Thunder Mechanics
In reality, the Jagdpanzer IV’s low silhouette made it harder to spot from a distance. War Thunder mirrors this advantage by giving it decent camouflage factors and superior frontal armor for it’s tier. Because it lacks a rotating turret, you often have to angle the whole vehicle to aim. This can be a blessing or a curse, but if you master the technique, it becomes a lethal tool in your arsenal.
Core Strengths of the Jagdpanzer IV in War Thunder
Let’s break down what makes the Jagdpanzer IV such a staple for players like you and me who prefer ambush tactics.
Armor Profile and Sloping
While it’s a great ambush predator, the Jagdpanzer IV isn’t invincible. It’s armor is strong at the front, but the sides and rear are vulnerable. If someone flanks you, you could be in trouble. That’s why it’s super important to choose cover spots where the enemy can’t easily get around you. To make the most of your front armor, angle your hull in a way that deflects incoming shells. A slight angle often works wonders because it can increase the effective thickness of your armor. But if you expose your sides for too long, you’re basically inviting trouble. That’s the dance you have to master: presenting your front while keeping an eye on your flanks.
Mobility and Maneuverability
While it’s not the fastest tank destroyer in the game, the Jagdpanzer IV has enough mobility to reposition quickly. It’s agile enough to switch ambush spots or even retreat if the situation gets too hot. You won’t be racing around like a light tank, but you can definitely shift your vantage point without feeling like a sitting duck.
Firepower and Ammunition Options
It’s main gun offers a good balance of penetration and reload speed. You might not have the flashiest firepower in your tier, but your shells can still pack a punch, especially if you aim at weak spots. Let’s check out a simple table that highlights some recommended ammo choices:
| Ammo Type | Penetration | Purpose |
| AP (Armor-Piercing) | Medium | General use against lightly armored tanks |
| APCBC | High | Best for angled shots and better damage |
| HE | Low | Situational usage for exposed crew modules |
You’ll likely stick to APCBC for most engagements, but having a few HE shells doesn’t hurt if you’re looking to cause internal chaos on lightly armored targets.
Positioning Tactics for Ambush
High Ground vs. Low Ground
Positioning can make or break your entire strategy when using the Jagdpanzer IV. High ground gives you a broader view of the battlefield, letting you spot enemies early and plan your shots before they even know you’re there. The downside is that higher ground might leave you partially exposed. War Thunder’s spotting mechanics mean that if you can see them, they might see you. The trick is to peek over ridges, fire and pull back. Since the Jagdpanzer IV is low to the ground, you can go hull-down more effectively than many tanks, showing only your gun and a small part of your upper structure.
Key Map Locations
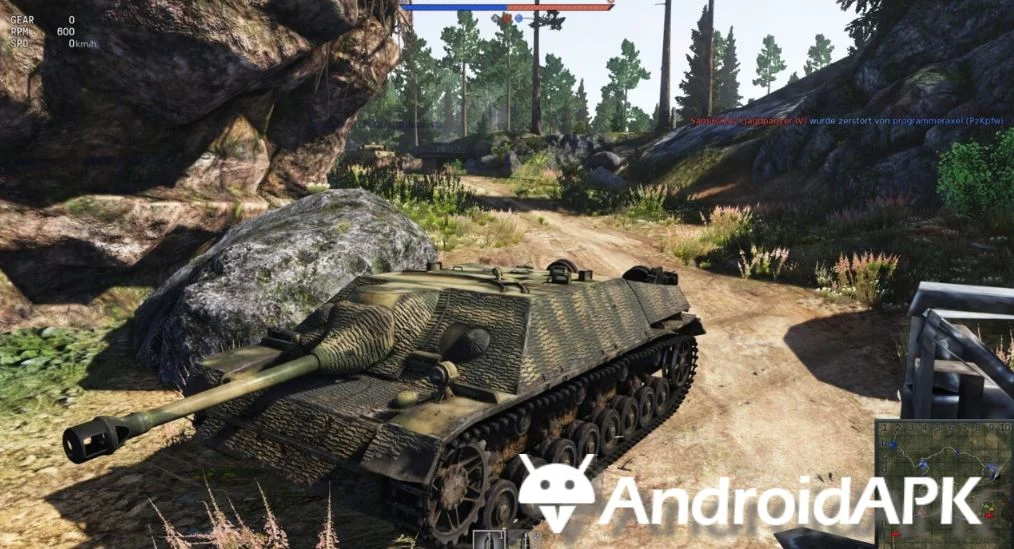
Different maps demand different tactics. In forest maps, use bushes and fallen trees as extra cover. Urban maps have narrow streets and rubble piles that can conceal your entire tank until your opponent is literally at your front door. In desert maps with rolling dunes, find a dune that’s just big enough to hide your silhouette and let the natural shape of the land keep you concealed. When you’re playing in a squad, ask your teammates which routes the enemy is likely to take. Then, set up your Jagdpanzer IV on the side of those paths. This tactic almost feels like fishing: you wait, watch and then strike at the perfect moment.
Flanking Techniques for Surprise Attacks
If direct confrontation isn’t working, consider flanking. Circle around the map edges to catch enemies from the side or rear, where their armor is weakest. This tactic also works wonders if your team is pressuring the enemy from the front, causing them to turn their turrets away from you.
When and How to Open Fire?
Timing your shots can make or break your ambush strategy.
Timing the First Shot
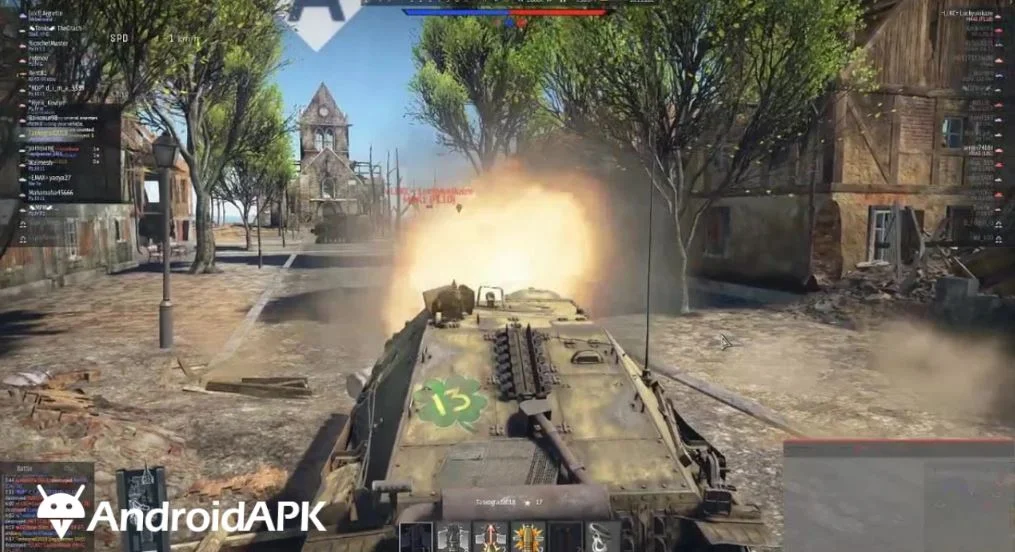
I can’t overstate how important that first shot is. If you hit your target’s weak spot—like the side armor or the ammo rack—you can end the fight immediately. Take a deep breath, aim carefully and fire only when you’re confident. There’s no rush; your enemy likely has no clue you’re lurking behind the bushes.
Reload Speed and Maintaining Stealth
After you’ve fired, you’re briefly exposed. That’s when the Jagdpanzer IV’s reload rate can either save or doom you. While reloading, it’s best to angle your tank or even back up behind cover. By the time you’re reloaded, you can pop out again and deliver another shot. Don’t stay in the open, as you’ll become an easy target for return fire or flanking enemies.
Effective Use of Cover and Terrain
We touched on it earlier, but let’s break it down into specifics.
Terrain Types and Their Impact
- Urban Maps: These often have plenty of rubble and tight alleyways. Hiding behind corners is your best bet, letting you peek out to shoot at unsuspecting enemies.
- Open Field Maps: Natural elevations, bushes and tree lines are your best friends. You can hide the bulk of your tank behind small rises in the ground.
- Snow/Desert Maps: Visibility might be poorer, but your tank’s camouflage might not be as effective if everything is bright white or golden brown.
Creating a Defensive Network
If you’re working with teammates, consider overlapping fields of fire. That means positioning multiple ambush tanks so they cover each other’s flanks. When the enemy tries to flank you, your teammate can take them out. This team-based approach transforms one hidden tank into an entire web of lethal coverage.
The Ideal Loadout for Jagdpanzer IV
Choosing the right loadout can give you a massive edge when setting up ambushes.
Best Shell Types for the Jagdpanzer IV
Knowing which shells to load can make a huge difference. The Jagdpanzer IV offers several shell types, ranging from Armor-Piercing (AP) to Armor-Piercing Composite Rigid (APCR) and High-Explosive (HE). I personally prefer having a mix. AP shells are usually enough for common targets, especially if you aim well. But when you face heavier armor, APCR shells can give you that extra penetration power. Just note that APCR shells can overpenetrate if the armor is too thin, so they’re best used against well-armored targets.
| Shell Type | Best Use Case |
| AP | General Purpose, Good All-Rounder |
| APCR | Heavier Tanks, Higher Penetration |
| HE | Lightly Armored Targets, Can Damage Modules |
Equipment and Crew Skills
Apart from ammo, don’t forget about the gear you can bring. Binoculars help you spot enemy tanks before they spot you. A Parts upgrade is critical so you can fix your tank if something gets damaged. And FPE (Fire Prevention Equipment) is a lifesaver when your engine catches fire. As for your crew, prioritize skills like Targeting, Driving and Vitality. A sharper aim and faster turret/gun handling can speed up your reaction time, which is perfect for ambush roles.
Ambush Strategy Checklist
Preparations Before the Match
- Pick the right loadout: Mix AP and APCR shells.
- Know the map: Familiarize yourself with choke points.
- Coordinate with squad: Agree on roles and routes.
Mid-Game Adjustments
- Relocate if necessary: Don’t stay in one spot too long.
- Watch the kill feed: Track which enemy tanks are still alive.
- Maintain radio silence if needed: Don’t give away your position by constantly moving or firing.
Late-Game Final Push
- Keep an escape route open: Ambushes can go both ways in the late game.
- Pounce on isolated enemies: Catch stragglers unaware.
- Preserve your tank: If you’ve made it this far, you’re valuable.
Situational Awareness
Keep an eye on the minimap. If your team is collapsing on one side of the map, you may need to move to avoid getting flanked. Awareness is a muscle you train by practicing. The more you play, the better you’ll sense those subtle cues that it’s time to either spring your trap or scoot to a safer spot.
Communication with Teammates
War Thunder is not a solo adventure, even if you prefer ambush tactics.
Coordination in Platoons
Playing with friends or a platoon can skyrocket your success rate. You can coordinate your ambush spots, draw enemy fire while another tank sets up a flank or call in air support. Simple voice communication or even chat pings can turn a decent plan into a near-perfect one.
Sharing Intel on Enemy Positions
Spot an enemy? Ping it. This helps teammates prepare for an incoming threat. If you see a group of heavies moving through an alley, let your allies know where you are and where the enemy might emerge. That way, you can sandwich the opponent or set a crossfire, which quickly reduces their chances of survival.
Common Mistakes to Avoid
Even experienced players stumble sometimes. Here are pitfalls you can dodge:
Poor Positioning
One of the biggest rookie mistakes is setting up an ambush where enemies rarely pass. You might as well be fishing in a desert. Do some map study to know where the main traffic flows. Another positioning mistake is staying too far forward. If you’re too deep into enemy territory, reinforcements will spot you quickly.
Overextending in Enemy Territory
Getting too greedy can lead to a quick demise. After a successful ambush, it’s tempting to push forward for more kills. But if you wander out of your safe zone, you’re exposing your flanks to enemies looking for easy targets. Remember, the Jagdpanzer IV doesn’t have a turret, so you’re especially vulnerable to side or rear attacks.
Practical Tips for Consistent Ambush Success
Here’s a short list of practical tips that I’ve found helpful:
- Use Bushes Wisely: One bush in front of your gun mantlet can hide your muzzle flash.
- Angle Your Armor: Even a slight angle might deflect the enemy’s shot.
- Fire and Relocate: If enemies spot you, move to another position to avoid counterfire.
- Keep an Escape Route: Always plan where you’ll retreat if things go south.
- Spotting and Rangefinding
If you can quickly gauge distance, you’ll land more precise shots. Practice using the rangefinder or memorizing common engagement distances on familiar maps. A small advantage in accuracy can save you from missing a critical first shot.
- Map Awareness and Strategic Retreat
Sometimes the best offense is a good retreat. If you notice the enemy team is swarming your sector, there’s no shame in pulling back to a secondary ambush spot. Survival is more important than racking up kills, especially if you want to help your team secure the win.
Comparing Jagdpanzer IV with Other Tank Destroyers
Before you commit fully to the Jagdpanzer IV, let’s do a brief comparison with some rivals.
- M18 Hellcat
The American M18 Hellcat is much faster, allowing for quick repositioning. However, it lacks the armor of the Jagdpanzer IV. If you prefer speed over armor, the Hellcat might be your choice, but you’ll have to rely on your agility to dodge shots.
- SU-85
The Soviet SU-85 has solid firepower at it’s tier, but it’s armor is often considered weaker than the Jagdpanzer IV’s. The Jagdpanzer IV can take a few hits if angled properly, whereas the SU-85 usually cannot afford any direct confrontation.
In short, the Jagdpanzer IV stands out as a balanced option. It’s not the fastest or the hardest-hitting, but it has a blend of armor and stealth that’s perfect for ambush tactics.
Adapting to Different Game Modes
Each mode in War Thunder changes the pace and style of combat.
- Arcade Battles
In Arcade, you’ll see helpful markers over enemy tanks, making ambush tactics harder. However, the simplified physics and easier controls mean you can reposition faster, which can still let you land surprise shots if you’re clever.
- Realistic and Simulator Battles
Here, you won’t see name tags over enemies, which is a huge plus for ambush play. Map knowledge becomes crucial. The Jagdpanzer IV truly shines in these modes because your low profile and careful positioning can keep you hidden far longer.
Maintaining and Upgrading Your Jagdpanzer IV
Whether you’re new or a seasoned player, upgrades make a difference.
- Research and Modifications
Focus on researching modifications that improve your reload speed, turret traverse (if available) and targeting. Also consider unlocking better ammo types early on. The jump in performance from stock shells to improved ones is huge.
- Economic Considerations
Silver Lions and Research Points don’t come easy. If you’re on a budget, pick the modifications that matter most—like better shells and crew training. Leave cosmetic upgrades for when you have spare resources.
Conclusion
The Jagdpanzer IV stands out as a remarkable tank destroyer for ambush strategies in War Thunder. It’s historical roots reveal a design built for stealth and lethal strikes. In the game, those same qualities translate to a deadly tank destroyer that can punish careless opponents. By mastering cover, positioning, timing and the right loadout, you can maximize it’s strengths.
Even though the Jagdpanzer IV is far from invincible, it offers a low profile, decent armor and enough firepower to make it the ambush king of it’s tier. If you learn from your mistakes, refine your tactics and adapt to different map types, you’ll see your ambush success rate shoot through the roof. This is especially true if you keep that element of surprise on your side—something the Jagdpanzer IV excels at providing.
So, whether you’re a veteran or a newcomer just discovering the thrilling possibilities of stealth play, the Jagdpanzer IV is a tank worth giving a serious shot. And, of course, keep an eye out for mentions of NJAV GVG Shotacon in gaming forums—it often signals unique and creative ways to leverage this tank’s strengths to devastating effect.
FAQs
- How important is camouflage for the Jagdpanzer IV?
Camouflage is crucial. The Jagdpanzer IV’s low profile already gives it a natural advantage, but investing in camo patterns and staying hidden behind bushes or terrain further improves your chances of remaining undetected. - Which ammo is the best for one-shot kills?
Generally, APCBC shells provide a good balance of penetration and explosive filler, increasing your chance to knock out enemy tanks in a single well-placed shot. APCR can help with higher armor, but they lack explosive content. - What maps favor the Jagdpanzer IV’s ambush style?
Maps with lots of foliage, broken terrain and choke points—like Karelia or Eastern Europe—are fantastic for hiding your silhouette. Urban maps can also work, but you’ll have to learn to peek around corners effectively. - Should I rush to upgrade my Jagdpanzer IV?
Prioritize unlocking better shells and crew skills like reload speed first. These upgrades directly impact your combat effectiveness. Then move on to mobility enhancements if you prefer quick repositioning. - Is the Jagdpanzer IV beginner-friendly?
It can be, especially if you learn to position yourself correctly and exercise patience. Although it lacks a rotating turret, the fundamentals of ambushing—staying unseen and picking the right shots—can be easier to learn compared to other playstyles.